Plaster is essential for giving walls a flat, smooth and ready to paint finish. After you’ve applied bonding plaster to prep the surface, then it’s time to mix and add your final coat. Preparing the final coat of plaster in the right way is necessary for getting the best possible finish. Here’s our guide to mixing it in the correct way.
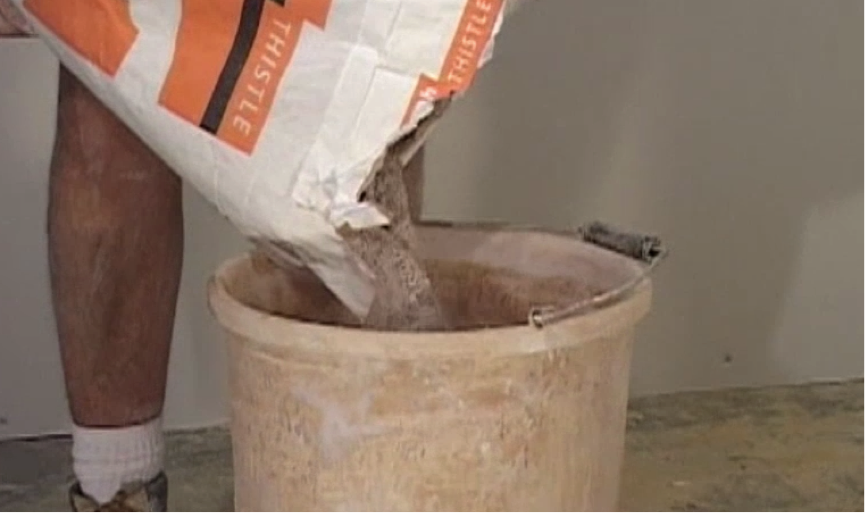
Step 1. Add the materials
Pour half a bucket of clean water and half a bag of finishing plaster into your mixing bucket.
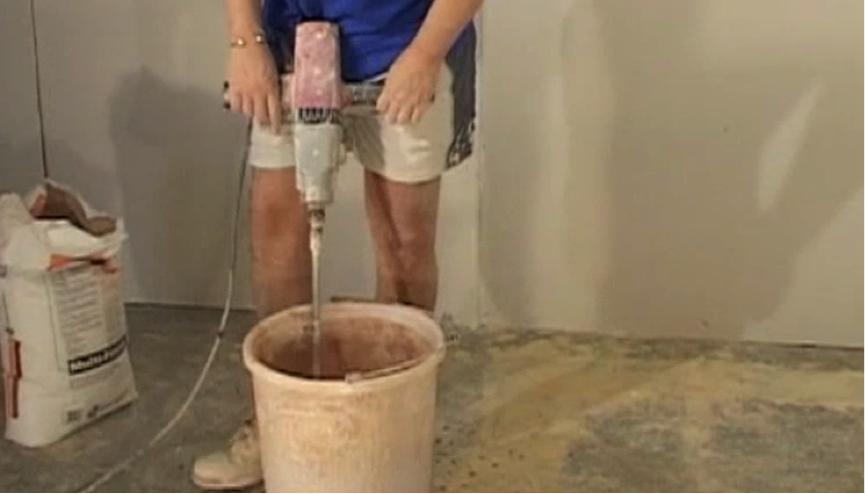
Step 2. Mix the contents
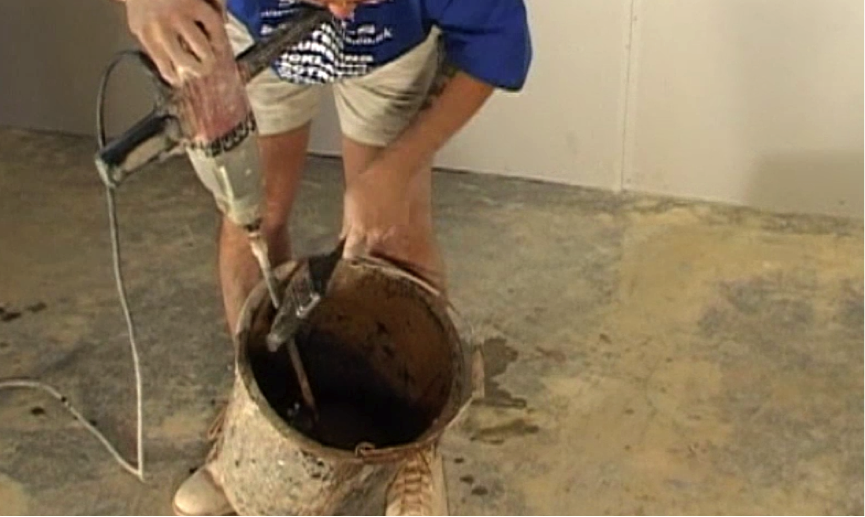
Taking your drill and paddle, start mixing up the contents. Make sure you do this thoroughly and reach the parts that are left lumpy or dry.
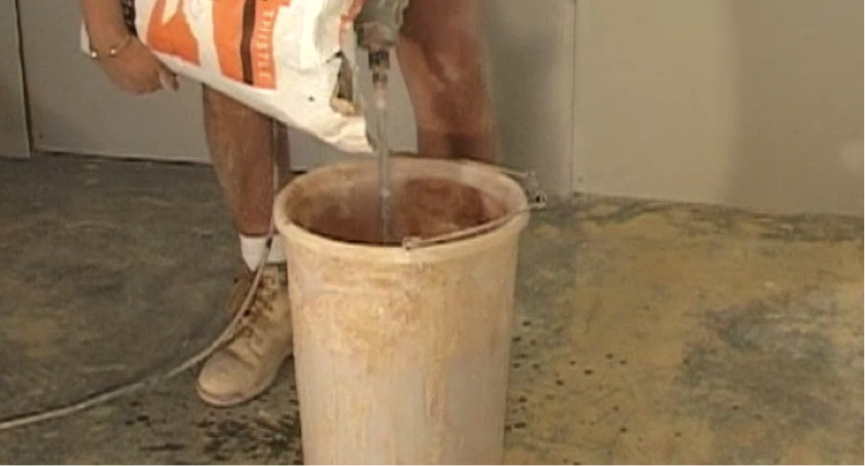
Step 3. Add more plaster
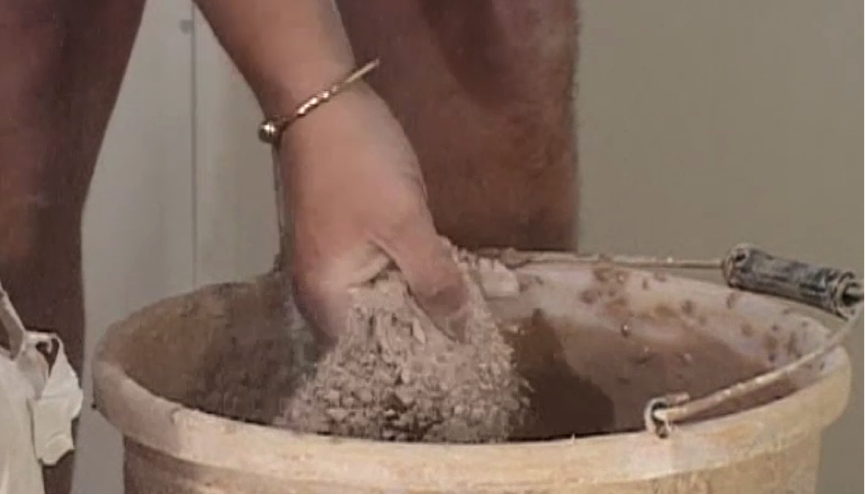
As you’re mixing, start adding more plaster little by little. Continue to mix with a drill and paddle, slowly adding more and more plaster to the mix – repeating the process. Try not to add too much too quickly.
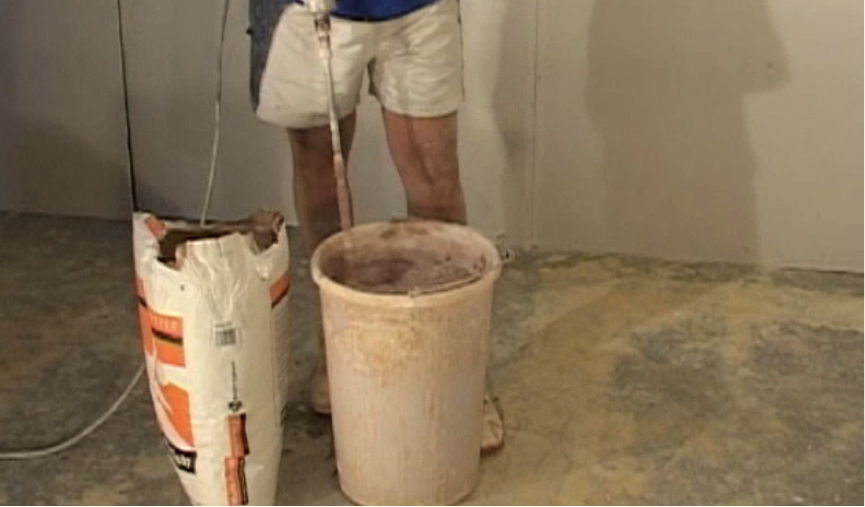
Step 4. Mix thoroughly again
Unlike bonding plaster, finishing plaster needs to be very well mixed. Any dry or lumpy parts will affect the quality of your finish and your work. Like when mixing bonding plaster, using half a bucket of water means by the end you should have a full bucket of plaster.
Step 5. Use your bucket trowel
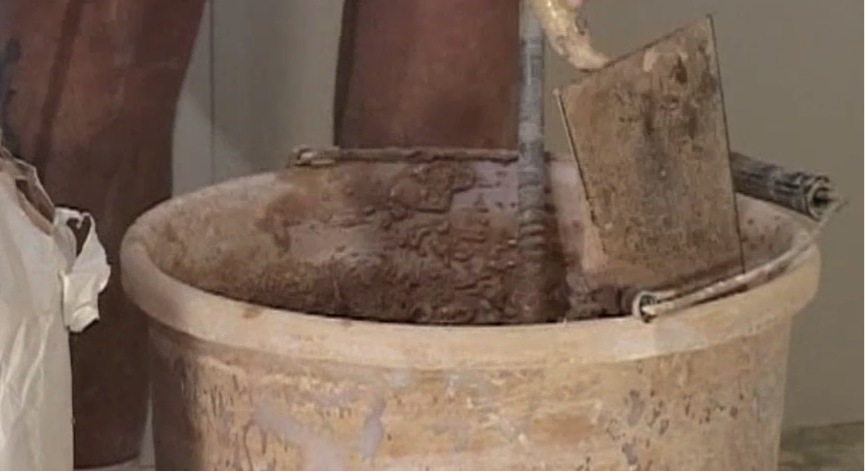
Remember to use the bucket trowel around the rim of the bucket to ensure any dry parts clinging to the side are mixed in thoroughly.
Step 6. Check consistency
As you get close to a finished mix you are looking for a smooth, rich and creamy consistency. If it is still too watery, then add more plaster a handful at a time.
Step 7. Cleaning equipment
Once you are happy with your mix, make sure you clean your equipment while the plaster is still wet. This will leave you ready to mix your next batch and makes cleaning and maintaining the equipment much easier.
Step 8. Use your mix
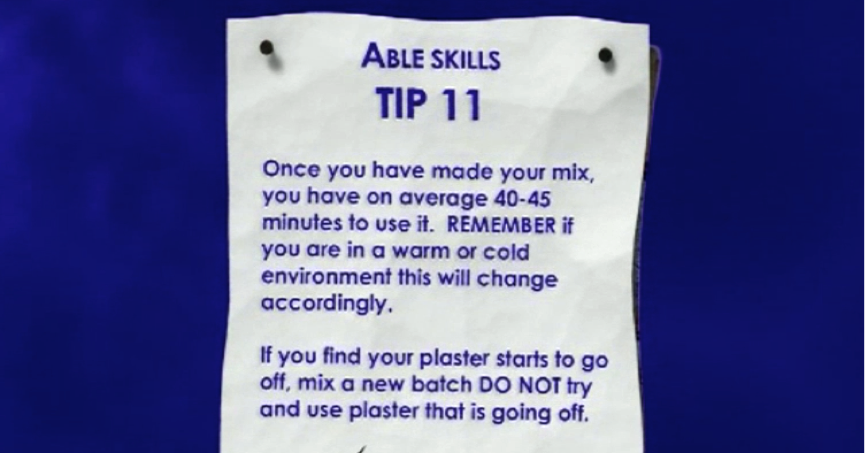
Once you have made your mix, you have an average of 40 to 45 minutes to use it. If you don’t, it will start to go dry and you will need to make a new batch. These times can change depending on the external temperature.
